How to Make a Easy Wine Without a Bunch of Ingredients and
If you buy an item via links on this page, we may earn a commission. Our editorial content is not influenced by commissions. Read the full disclosure.
Do you end up with a lot of frozen fruits in your freezer at the end of each season?
It's great to have them on hand, but they also take up a good amount of room which could be used for other items.
Instead of freezing your fruit, wasting space in your freezer, and looking for ways to use it later, why not pull it out and begin using it now to make homemade wine?
I take any frozen fruit I have leftover at the start of a new growing season and turn it into delicious homemade wine. It tastes great and makes a great gift too.
Here's how you can turn your frozen (or fresh) fruit into wine:
Materials:
- Large container or winemaking kit
- Mesh bag, pillowcase, or cheesecloth
- Sugar
- Yeast
- Wine bottles
- Siphon
- Rubber stopper and airlock
- Frozen fruit
1. Choose Your Fruit
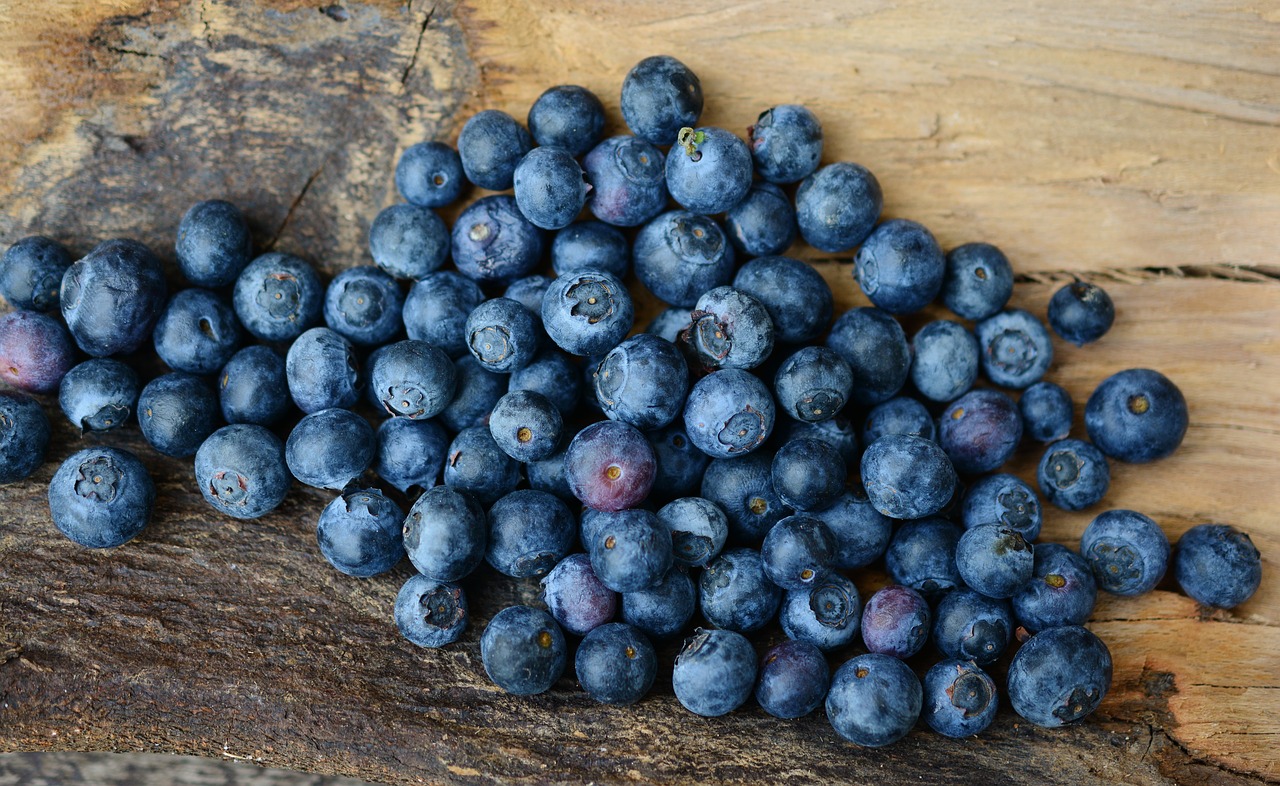
You can pick fresh fruit to make your wine, but I prefer to use the frozen fruit I have leftover.
My property has plenty of grapes, muscadines, blackberries, and blueberries. Therefore, I usually have plenty of fruit left over each year.
This project would even work if you have a plethora of store-bought frozen fruit going to waste in your freezer. Pull them out and put them to work.
When you've picked your fresh fruit or pulled your frozen fruit from the freezer, you're ready to jump into your first winemaking adventure.
2. Prepare the Fruit
Whether your fruit is fresh or frozen, it's a good idea to give it a rinse under the faucet. Be sure to use cold water.
If your fruit is fresh, be on the lookout for bugs and stems which may have stayed attached during the picking process.
I use a strainer to rinse my fruit. This allows the cold water to run between the fruit, but I don't lose it in the drain.
When you've rinsed the fruit thoroughly, and you feel confident it's clean; shake any excess water from it and allow it to continue to drain in the strainer in your sink.
3. Prep the Wine Container
If you've ever made anything homemade, you know it's vital to make sure all your equipment is sterilized.
The rules are the same when making your own wine. Any germs which are in the container during the winemaking process will make their way into your wine.
This could throw the whole process off and waste your ingredients. Not to mention, it could be unsafe to drink.
Therefore, take the time to sterilize your winemaking container. Your container should be large enough to make the amount of wine you'd like and hold the amount of fruit you're trying to utilize.
This is the only specification for your container. Plastic or glass containers will both work for this process.
Once your container is chosen, run it through your dishwasher on the sterilize setting. If your container is too big, consider filling it with hot water.
Use caution if sterilizing the container by hand because you could easily burn yourself. You can also purchase a no-rinse sterilizer to make this part of the process easier.
When your jug has been sterilized, dry it, and it'll be ready for use.
4. Let the Sugar and Fruit Mesh
It's now time to put the fruit in its bag. You can use a cheesecloth or mesh bag. I prefer to use a pillowcase because I have them on hand at any given time.
The idea is for the juice of the fruit to drain into the container while separating the fruit. Any of these options should work well for this.
Once the fruit is in the bag, fit it into the container. Depending upon the size of your container, you may wish to open the bag up in the container first and add the fruit second.
After adding the fruit to the container, it's time to make a simple syrup. I use 8 cups of sugar with 8 cups of water.
Heat the mixture on the stove and allow the sugar to dissolve, but don't let it boil. When the sugar has dissolved add it to the container.
5. Start the Process
When your fruit and simple syrup have been added to your wine container, add more water until the container is full.
Add 1 teaspoon of yeast to the mixture in the container. I use a large wooden paddle to stir the yeast, water, and syrup around in the container.
Stir hard to where it breaks the skin of the fruit in the mesh bag. This will allow the juice to leak through the bag and into the mixture.
When the skins have been broken and everything is mixed, plug the bottle with the airlock.
6. Play the Waiting Game
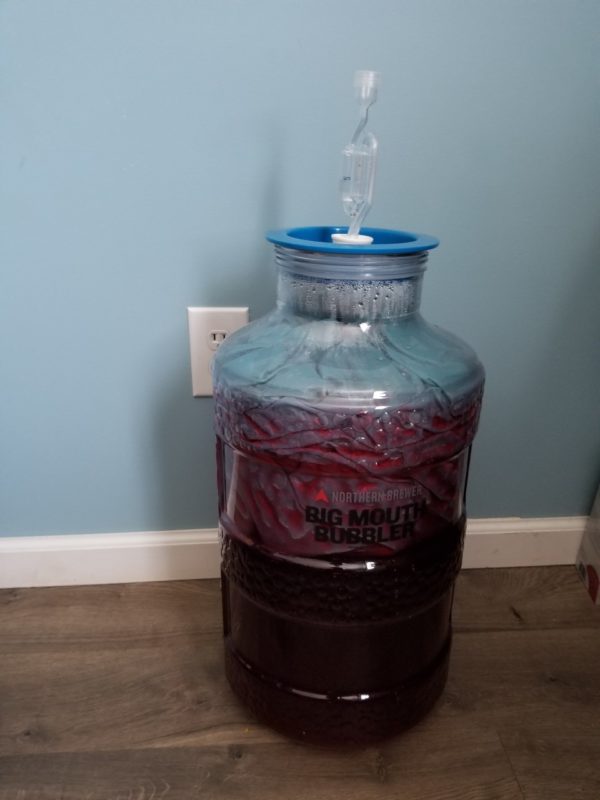
The wine will sit in the container for 2 weeks. This allows the gases from the fruit to release in the container and begin turning the syrup into wine.
We use a large wine container to make our wine. It's 6½-gallons. I store it in my bedroom in a corner during the 2-week waiting process.
You should hear the airlock begin to bubble almost immediately after it's added. It's a funny sound, but you get used to it over the 2-week waiting period.
7. Pull the Fruit
When the 2 weeks are up, it's time to pull the fruit out of the container. This is why I use the mesh bag, to begin with.
Some people throw the fruit in the liquid mixture and allow it all to marry together for a couple of weeks.
However, by placing the fruit in a bag (or pillowcase in my case) you can easily pull the bag out, and you're left with only wine.
Discard the fruit, or you can use it to make a second (smaller) batch of wine.
8. A Little Stronger, You Say?
My husband and I can't agree on the intensity of our wine. I prefer a fruitier flavor. Yet, he prefers a more intense or bold flavored wine.
If you like your wine a little stronger, plug the container again when the fruit has been removed and allow the mixture to ferment. Another week or 2 should give you the bold flavor you desire.
However, keep in mind, the majority of alcohol is created during the initial 2-week waiting period.
If you're unfamiliar with making your own wine, try making 2 separate batches to see which flavor you like best.
Bottle some after only 2 weeks and allow the second batch to sit for a month. You'll know from this point forward how you prefer to make wine.
9. Clean It Up
When your wine is at its desired flavor, siphon the wine from the container. The siphon I use filters the wine as well which gives it a shinier finish.
You can filter it as much or as little as you'd like to give it the appearance you want your wine to have. This is only one of the many great things about making your own homemade wine.
It allows you to decide on the boldness of the wine, the ingredients, and how clear or cloudy you like your wine to be.
10. Bottle and Store Your Homemade Wine
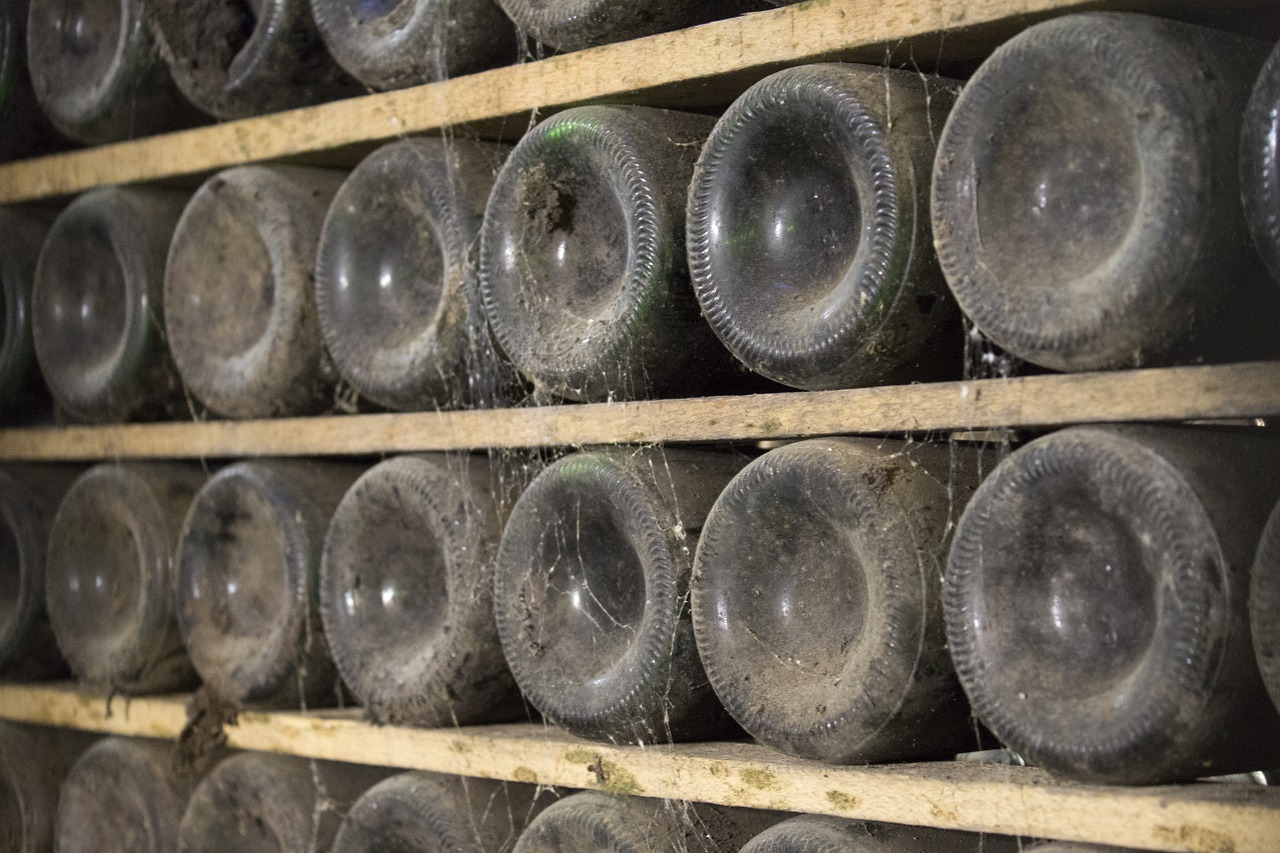
Some people will store their wine in mason jars. I've heard of some saying their lids buckle which has turned me off from using mason jars to store homemade wine.
However, you can purchase wine bottles and corks online to store your own wine. If you don't have a dark, cool location to store the wine, then go with darker colored bottles.
This will stop light from making its way through the bottles and harming your wine.
If you do have a dark, cool location such as a basement or root cellar to store your wine, you can go with lighter colored or clear bottles.
Store the bottles for a month before tasting. Wine can be stored for longer than a month if you prefer.
This process will help you save money on purchasing adult beverages, clear up freezer space, and put excess fruit to work.
Making homemade wine has endless possibilities and may even become your new hobby. You can also try your hand at making elderberry wine, or dandelion wine. Enjoy the fruits of your labor by indulging in your own, easy-to-make homemade wine.
Was this article helpful?
Yes No
Source: https://morningchores.com/homemade-wine/
0 Response to "How to Make a Easy Wine Without a Bunch of Ingredients and"
Post a Comment